This guide will walk you through how to set up a first grade writing center, including what to print, how to introduce it, where to store it, and ways to keep it lasting year-to-year. Literacy Stations’ Writing Centers are built for independence, with 47 themed centers that follow the same structure every time. That means your students know what to expect, your modeling time goes way down, and your writing centers run smoother every week.
Learning how to set up a first grade writing center doesn’t mean prepping everything at once.
Start small, stay organized, and build from there. These writing centers are designed to be flexible so you can print what fits your week, your students, and your prep time.
If you’re short on time, start here. These activities are ready to print and use without any additional prep:

Teacher Tip: Start with two or three of these templates your students can use independently, then rotate in more as routines become familiar.
If you’re looking for materials that will last year after year, prep and laminate these activities once so you can use them again and again.
Teacher Tip: Laminate these components and store them in labeled folders or bins by month or theme. You’ll have a ready-to-use center that takes minutes to set up.
Start with whole-group modeling. Walk your class through each part of the center, and model exactly how to use every tool. Be clear about how to clean up and take care of the materials..
Use simple classroom routines. Try prompts like “show me where this goes” to practice organization and expectations. Let students physically walk through how to turn in their writing, choose papers, or put items back in the correct spot.
Introduce the center in small groups. After modeling, invite just a few students to try the writing center while the rest of the class works on another independent task. This gives you time to observe, redirect, and support before the whole class is expected to use it on their own.
These are ideal if you’re short on time or just beginning to teach your students how to use a writing center. They require no prep beyond printing and are simple enough for students to use independently once you’ve modeled the expectations. Use for your first week to allow your students to become familiar with the vocabulary words.
You can assign these activities as a stand-alone digital center, or use them alongside the printable vocabulary sheets for added writing practice.
These hands-on activities are perfect for week two or anytime you want to add variety and engagement to your writing center.
Puppet Game – There are two simple ways to use the puppet in your writing center, both designed to boost engagement and support different writing levels:
Both options keep the activity light and fun, while still reinforcing vocabulary and writing fluency. You can also use the puppet as a reward station, where students “earn” a turn after completing a different task.
Our writing centers are built to support the wide range of writing abilities in your classroom. You don’t need separate systems for every level, just adjust how students interact with the same tools.
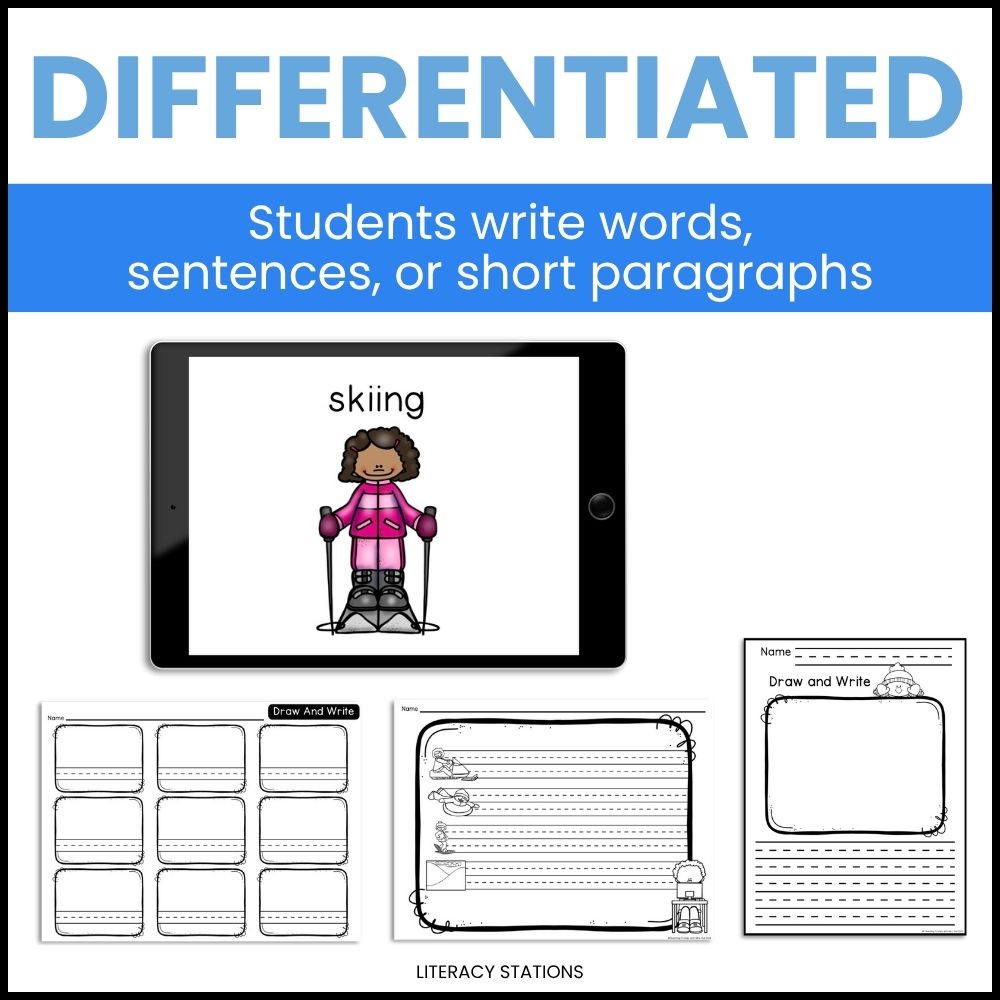
Use the same task, but change the expectation. Students might write a single word, a complete sentence, or a short paragraph, but they’re all working from the same vocabulary and templates.
Add drawing space to help students organize their thoughts. Many students, especially early writers, benefit from drawing before writing. Templates like “Draw and Write” or “Write What You See” let students organize their thoughts visually, helping them transition into sentences when they’re ready.
Use the digital writing tools to support typing and sentence building. Google Slides and Boom Cards include drag-and-drop activities and sentence starters that make it easier for students to get started. These digital tasks also allow for more independence, especially during small group time.

Use puppet games as structured practice for reluctant writers. The puppet adds an element of fun, but it’s also a simple differentiation tool. Give students specific tasks depending on their level—write the word, use it in a sentence, or explain it in a short paragraph. ELLs and reluctant writers often feel more motivated with the added play element.
Use list and letter writing for real-world purposes. Stronger writers might draft a letter to the principal or another class, while emerging writers might list apple-themed snacks or classroom jobs.
By giving students choice in format and writing level, without changing the center, you create a classroom where everyone can participate.
Your writing center doesn’t have to be brand-new each week to stay engaging. A simple rotation between printables and interactive activities gives students variety while reinforcing routines you’ve already taught.
Week 1: Focus on printables. Use the no-prep templates like Draw and Write, Write What You See, or Find, Color, Write to establish expectations and build independent habits. These formats give students structure without extra classroom management on your part.
Week 2: Add interactive options. Bring in the puppet game, spinner activity, and mini book once students are confident with the basics. These add hands-on engagement without needing to teach a new system.
Mix and match based on time and readiness. Some groups will thrive on games right away. Others might need extra time with the printables. Choose what works best for your students and your schedule.
Use games as a Friday wrap-up. Activities like the puppet or spinner can be a fun way to end the week, while still reinforcing vocabulary and sentence writing.
Once you’ve prepped your writing centers, the goal is to make them easy to grab and reuse without redoing your setup every time. Here’s how to keep everything organized so you can stay ahead all year long:
Once your students know how the writing center works, they can jump into any new theme with almost no reteaching. You’ll simply swap out the vocabulary, and the structure stays the same. That consistency is what makes your writing block easier to manage—less explaining, fewer behavior issues, and more time to focus on small groups or writing conferences.
If you’re looking to expand your writing centers, each Writing Center in the Literacy Stations collection is built with a monthly theme and designed to support your independent writing centers. You’ll find seasonal topics like apples, pumpkins, and snow, as well as non-holiday themes like community helpers and animals. Holiday options are included too—so you can pick what fits your classroom.
Each one follows the same structure, so you won’t need to reteach every time you switch themes. Just update the vocabulary and let your students get to work. You can start with a single center or grab a bundle to set up a consistent routine for the entire year.